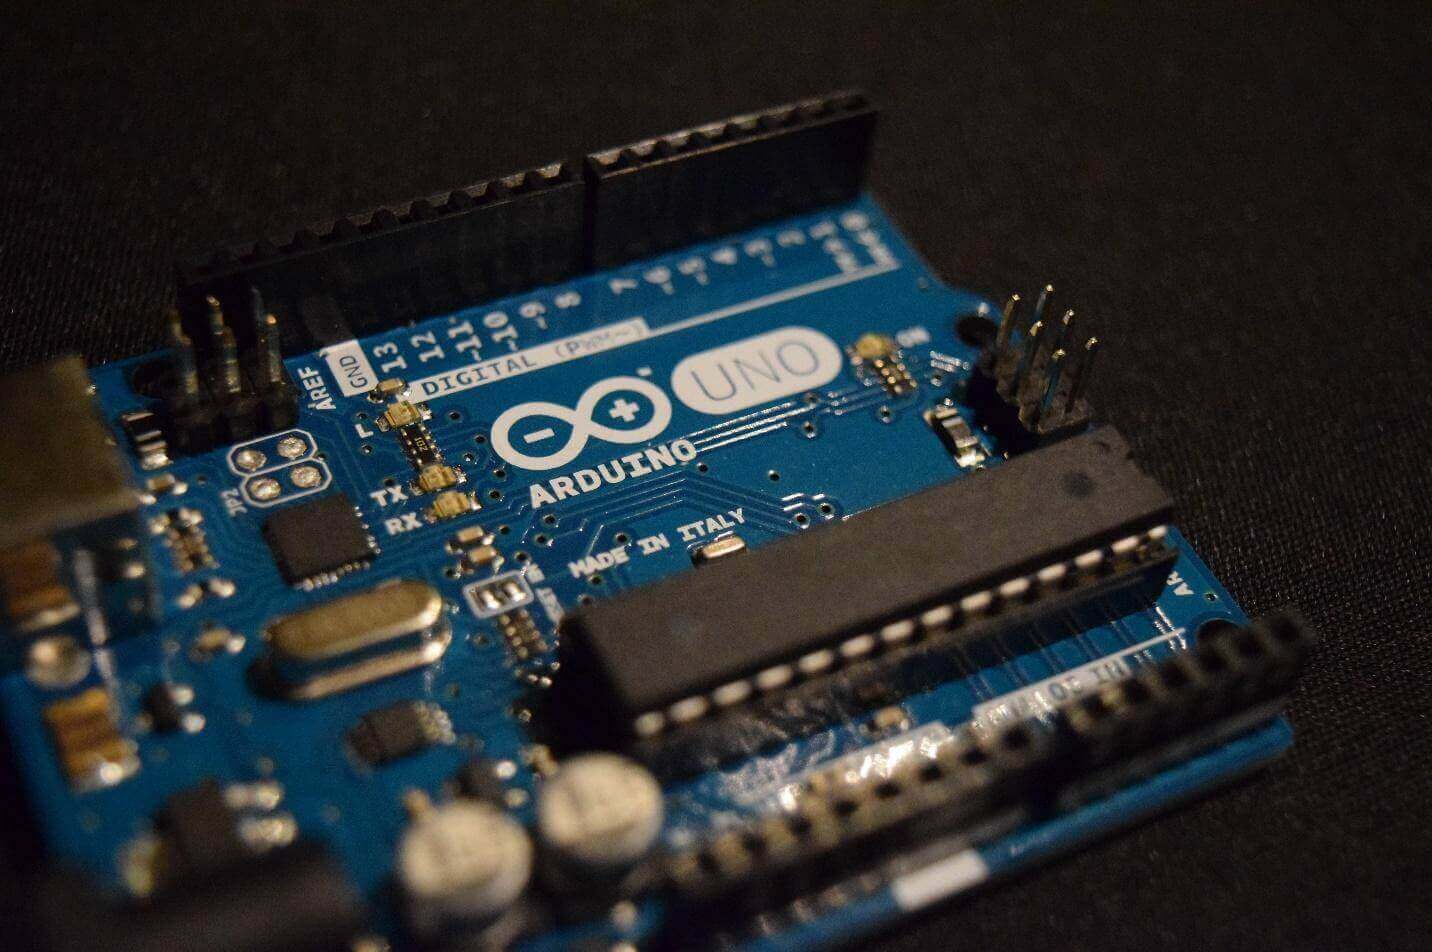
Are you a product developer who wants to go from Arduino prototype to final product? Or maybe you’re simply a hobbyist, tinkerer or techie who wishes to learn the process of how to have your Arduino turned into a PCB? If that’s the case, then you’re going to want to read every single word of this guide!
Arduino is easily one of the most popular electronics platforms for prototype development, for many different reasons! Arduino is a very easy-to-use hardware and software architecture that is perfect for inventors and hobbyists alike.
Considering the use of Arduino for your product architecture is an excellent (and wise) first step. However, there are additional engineering steps and details that you must pay very close attention to if you would like the best results for your product!
In this guide, you’re going to discover the simple process of how to go from Arduino to PCB, without any of the technical frustration or overwhelm that you may be anticipating. You’ll probably find that going from Arduino to PCB is much easier than you expected, the secret is to follow the simple steps as outlined in this document, and also to have fun in the process!
A Simple Introduction to Arduino Prototypes
There are three massive reasons why you might wish to consider using Arduino for your product prototype and to create a PCB. The first reason is that Arduinos are designed to be very easy to use. Ease of use is vitally important for your entire product development lifecycle, regardless of how large or small your project is in scope. Ease of use will help to keep your costs down, and to minimize technical problems.
Another important reason why Arduino is ideal for turning into PCBs is that Arduino is a fully open-sourced architecture, so you never have to worry about obstructed rights, rules, code, or hardware.
Finally, Arduino boards are very cheap, so you don’t have to stress out when experimenting with your initial prototypes or rolling out the assembly of your product in its final form. Whether you want to produce 1 unit, 5-units, or 500-units (or more), you can remain confident that experimentation with the Arduino architecture will be easy on your stress levels, and your budget.
The big reasons why Arduino is perfect for your product prototype idea:
- Arduino is designed to be very easy to use.
- Arduino is open-source.
- Arduino boards are very cheap.
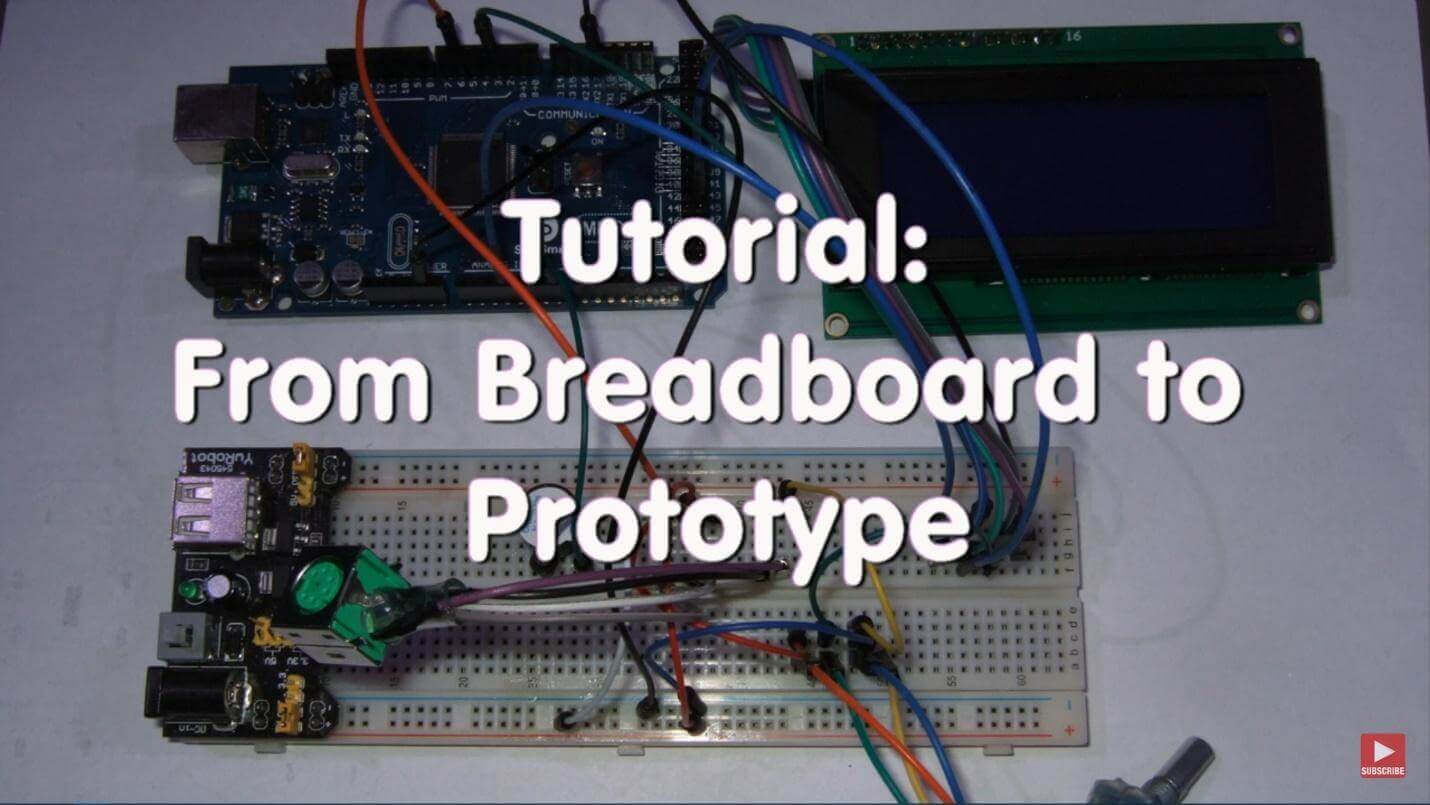
The Process of Turning an Arduino Prototype into a PCB Explained
If you’ve ever been frustrated because trying to create a PCB is more complicated than astrophysics, then Arduino is probably one of your best options! Let’s take a closer look at the steps involved in the process of Arduino prototype to PCB conversion.
Step # 1 – Designing the Ideal Microcontroller Circuit for Your Prototype
The very first variable to consider during your initial product development phase is your microcontroller schematic. The reason why your microcontroller circuit selection is so critically important is that you ideally want to use an open-source architecture that won’t unnecessarily complicate the development process or increase costs as a result.
Since using an open-source architecture is so key to production feasibility, simply using the microcontroller that your preferred Arduino model utilizes is the safest, easiest, and cheapest choice for product development, engineering, and manufacturing purposes.
By sticking with the same microcontroller as your preferred Arduino model, you’re ensuring that your hardware and software architecture will be as easy to work with as possible, and thereby cheaper to develop. Using the same architecture allows you quite literally to swipe and deploy the open-source Arduino schematic as is, plus the open-source nature of Arduino equates to an easy-to-develop software and hardware development lifecycle overall.
Step # 2 – Designing the Custom Schematic Circuits for Your Preferred Arduino Shields
Your Arduino shield is a pre-assembled circuit board that provides additional functionalities to your barebone Arduino board. Arduino shield add-ons are easily one of the most important features for you the product developer, and there’s a near-infinite collection of powerful Arduino shields that you can use!
Never forget that Arduino is open-source, and as a result, it’s relatively easy for you to work from the existing schematic circuit per any Arduino shields that you wish to use.
The idea of using multiple shields so you can develop the perfect product seems great! Of course, the more shields you use, the more schematics you’re going to need to customize. Also, remember that the very open-sourced nature of Arduino shields means that they’re not all created equal. Some Arduino shields may be very complex to work with, and some may be infinitely easier.
During the development process, be sure to keep in mind that many Arduino shields make use of different serial connections! Be sure that your devices can connect, because while Arduino shields are designed to be easy to use, developmental variability certainly exists, so it’s important to conduct your due diligence to ensure compatibility!
What types of Arduino Shields are there?
- Motor Shields.
- LCD Shields.
- Touchpad Shields.
- Wi-Fi Shields.
- Ethernet Shields.
- Camera Shields.
- GPS Shields.
- Weather Shields (Thermometer).
- Nearly Anything Else Your Prototype Needs.
Step # 3 – Designing the PCB For Your Prototype
After you’re satisfied with the architecture of your prototype, the next natural step is to consider the actual PCB (printed circuit board). As you may be aware, the open-source nature of Arduino grants you easy access to the schematic design for your board and any Arduino shields. However, there’s a very good chance that you’ll need to adjust your PCB per your own prototype’s unique design, function, and specifications.
When you’re designing your PCB, always ask yourself what unique specifications can help to make or break an ideal design? How are your end users going to use the device, and what nuances might affect performance? Pay very close attention to which, if any, Arduino shields require special accommodations, such as location or position.
For example, if your prototype uses any Wi-Fi or GPS antenna, then make sure that you place the shields so your device can get the ideal connectivity! If your prototype requires the use of an LCD, then be sure that your LCD is in the ideal location so your end user can get easy access! If your prototype measures the temperature or requires any input from the end user, plan for this so that your PCB design is optimal and practical.
These nuances and attention to detail are vitally important and can make or break your PCB and overall prototype design! If ease of use, a great end user experience, and a product that functions well are ideal to you, then pay attention to the small details regarding PCB layout. There’s nothing more frustrating than a beautiful idea executed poorly, so be sure to keep an eye on details.
Step # 4 – Placing an Order and Buying Your First PCB Prototype
Placing the first order of your PCB prototype is easily one of the most exciting parts in the entire product lifecycle process. All your hard work, efforts, creativity, and passion are about to come to fruition! Not all PCB manufacturers come in similar sizes. Some manufacturers focus only on the production of blank PCBs, and other manufacturers offer production and soldering.
The PCB ordering process involves choosing the perfect PCB manufacturer, and we’re here to help you through that potentially stressful situation! So, if you need innovative solutions for complex circuit board manufacturing, then contact us for your circuit manufacturing needs.
If you’re curious to learn more about how long your project would take, feel free to visit our manufacturing turn around chart as indicated here.
Step # 5 – Develop the Software and Firmware for Your Prototype
Now that you have your hardware ready to rock, it’s time to code the firmware and software so your hardware can communicate as you intend! This process should prove relatively easy since you’re dealing with a microcontroller architecture family that’s open-source, and hopefully already very familiar to you or your development team.
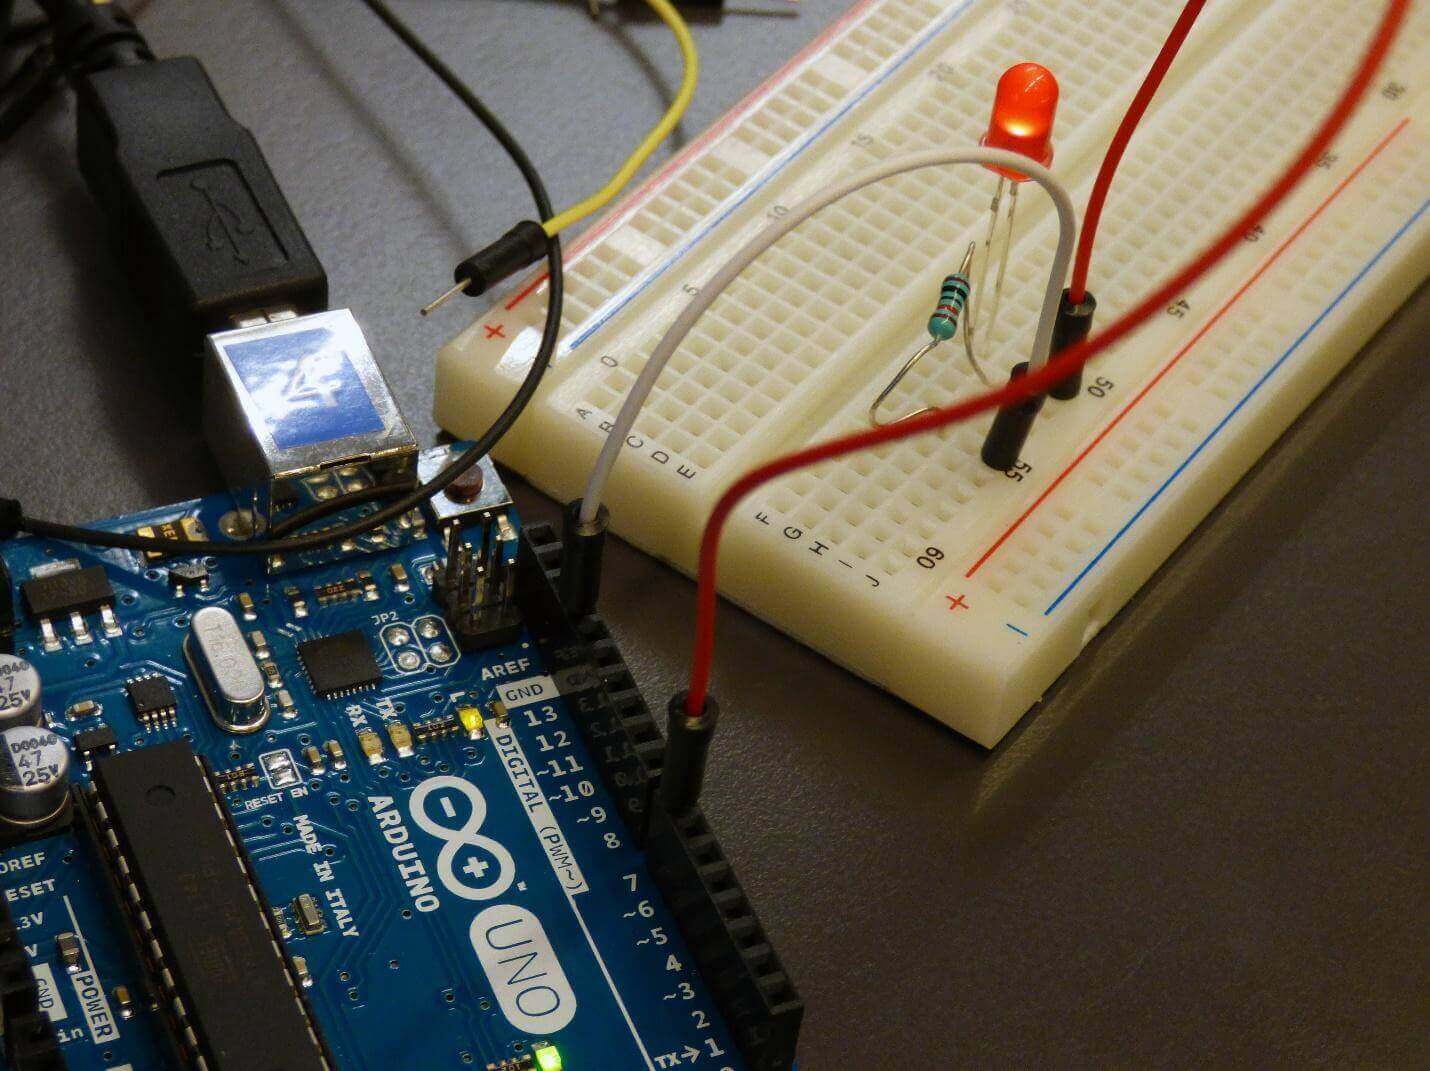
Step # 6 – Testing Your Prototype for the First Time in The Real World!
It doesn’t matter how diligent you or your team are; there are going to be oversights and glitches in your product’s initial stages throughout the development lifecycle! That’s why it’s so essential to test your hardware, software and firmware architecture thoroughly, and it’s also why testing during these initial development phases is so crucial for you, your prototype, and your finished product.
Never allow glitches in your initial development process to stress you out! You can easily accomplish this remarkable feat by planning for problems and even expecting them. Never be afraid to prototype your ideas, so you can finally put your theories to test, which is always the best way to see what works, and what doesn’t!
The Conclusion to Turning Your Arduino Prototype into a PCB
Congratulations! You’ve taken your first steps in successfully taking your awesome product idea from scratch to Arduino prototype, to the manufactured product!
Arduino is one of the best options for your product prototype. Arduino is cheap, easy, and open-source, so you can be confident that they’re ideal in many situations.
Working with an open-source architecture is so crucial! Open-source architectures can help to keep the development of your product simple, and it can also help to keep your project on budget.
If you want help with manufacturing your product, or if you have further questions, then contact us by using this form for any reason because we’re here to help take your product from start to finish without any frustration!