As prices continue to rise and information becomes widely available, many people are honing their DIY skills. Market projections maintain that the DIY industry will continue to grow, including hands-on techies and tinkerers.
If you want to hop on the trend and build your circuit board, you may wonder how to get started.
Most people choose between Arduinos vs. custom PCBs, though some opt for the former and later transition to the latter.
Ultimately, you’ll need to know the difference between PCBs vs. Arduinos to determine which is right for you. Use this guide to Arduinos vs. custom PCBs to determine which best suits your needs—and how to get started.
What Are the Differences Between Arduinos and Custom PCBs?
If you are trying to create a prototype for an electronic product, you will likely need a means of doing so. Most people use Arduino or raspberry pi to make circuit boards.
Arduino is an open-source electronics platform designed to be easy to use. Arduino boards can read inputs and turn them into outputs, but you can customize instructions using the built-in microcontroller.
Arduino is considered more straightforward to use than alternative methods and offers fewer advanced functionalities.
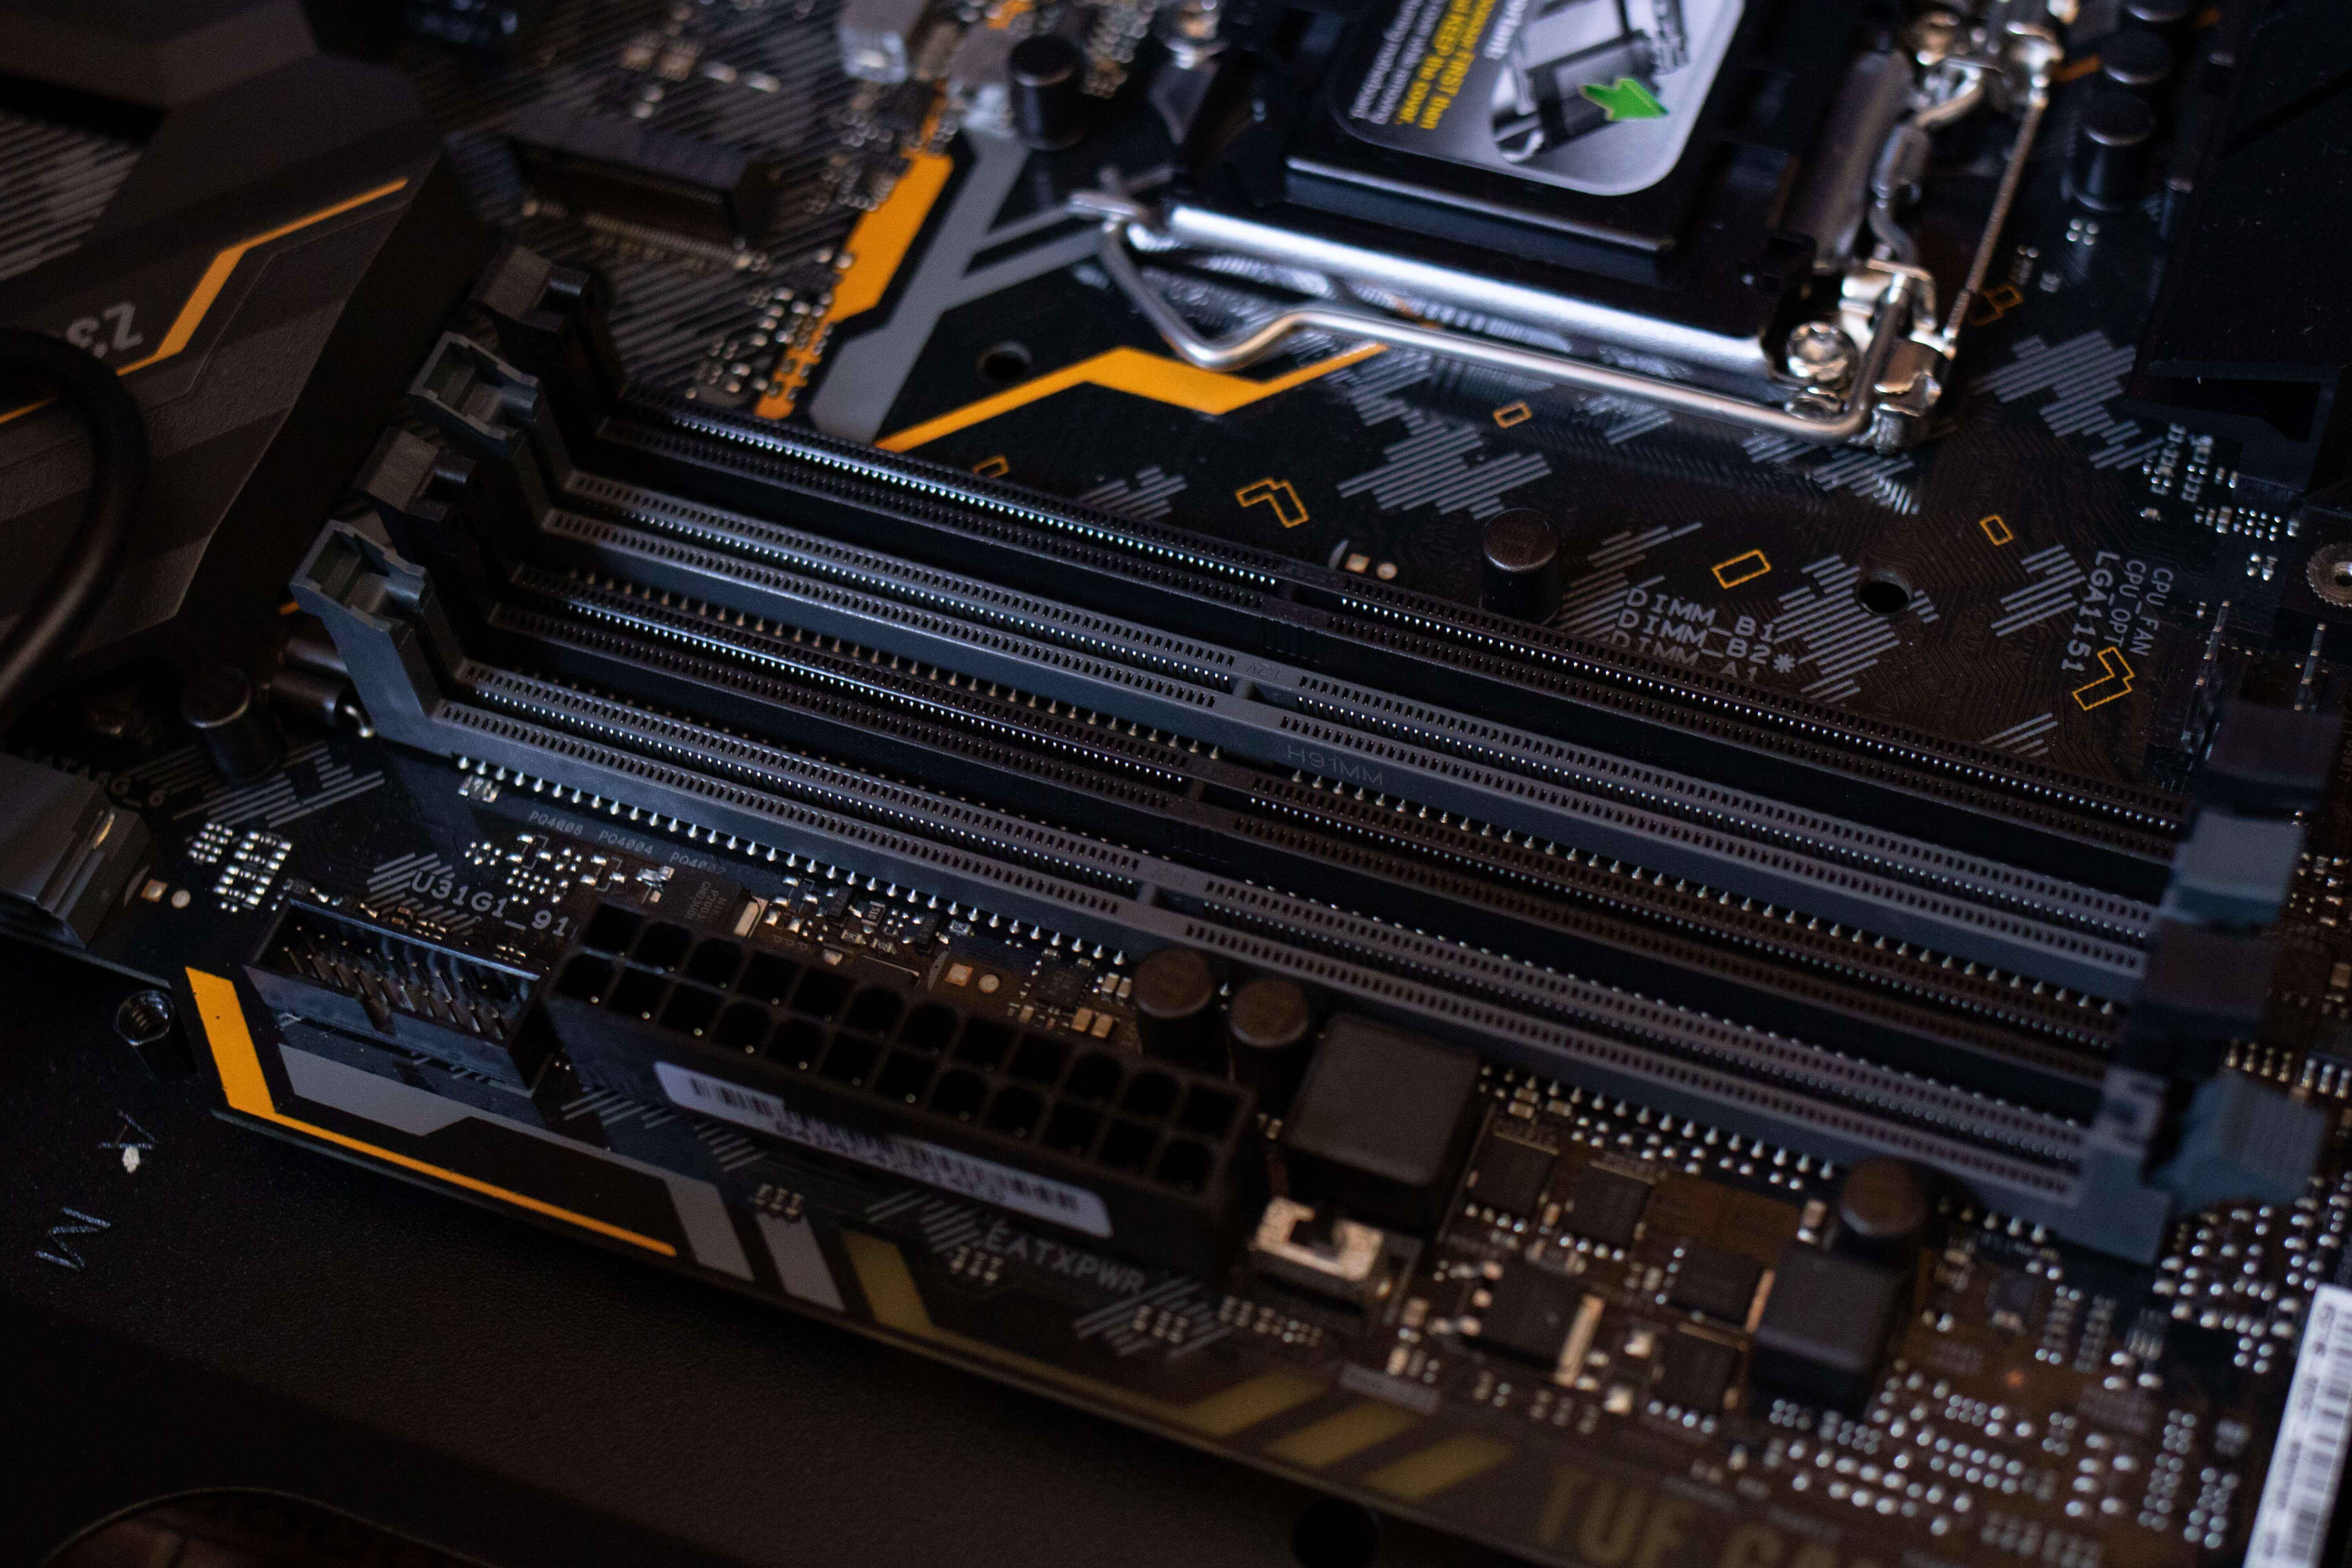
Alternatively, Custom PCB boards have full-feature capabilities, are generally more complex, and require more hands-on building.
PCB products look and feel more like the final products, while those constructed with Arduino may need more tinkering before they’re finished.
What Are the Advantages of Prototyping With Arduino?
There are several unique advantages to prototyping with Arduino.
User-Friendliness
Most people choose to work with Arduino first for its user-friendliness, accessibility, and fast learning curve.
You can find tutorials online and easily assemble your product with the Arduino software and hardware, and you can learn more about the process.
Rapid Prototyping Capabilities
With Arduino, you can create a prototype faster and more efficiently than with another provider.
Because Arduino caters to people of all skill sets, the company makes it easy to learn the ropes and have a product finished in several hours.
Availability of Open Source Libraries
Arduino is prevalent in many circles. For this reason, there are numerous Arduino firmware libraries available that you can draw from.
Since adjusting for bugs and identifying firmware issues is a large chunk of prototyping, this can save you time, effort, and money.
A Robust Community
So many people use Arduino that a community has sprung up around the product.
Some countless forums and subreddits provide answers to your every related question, and you’ll easily be able to find tutorials on YouTube and other third-party platforms.
What Are the Disadvantages of Prototyping With Arduino?
You may experience several disadvantages when using Arduino. These may include any one of the following.
Lack of Flexibility and Customization
Because experts technically created Arduino for beginners, it needs the advanced capabilities of a custom shield.
You won’t be able to customize your product as much as you want, and you might have to tweak it down the line.
Inaccurate Sizing
When using an Arduino board, you will likely need help to approximate the size you want. You’ll probably have issues reaching the form you wish to when using jumper wires. Custom PCBs are better for this purpose.
When to Use Arduino?
Most people begin with Arduino since it is more accessible and beginner-friendly.
Learning to build a prototype with Arduino is relatively easy, and there are so many resources available that you can learn it in one afternoon.
There are several other reasons it may be beneficial to use Arduino.
Your Business Has a Small Budget
If you lack in-house expertise and have a small budget, you can use Arduino to develop a primary product and revise your work later.
Arduino aims to make concept proofing more accessible to small businesses, which is ideal for such situations.
You Are Prioritizing Speed Over Perfection
If you’re rushing to complete your prototype, you should probably use Arduino since it is easier to learn than a custom PCB.
While your prototype will be relatively rough, you may only need it to be partially finished.
When to Use Custom PCB?
Custom PCB is ideal for more complex prototypes.
They’re best if you have the time and expertise to develop your product thoroughly. They also may take a bit longer to learn if you lack the knowledge, so consider this before deciding on which avenue to take.
There are other advantages to PCB.
Faster Final Product
With custom PCBs, you will likely create a prototype that closely resembles your final product.
If you want to maximize efficiency, PCB is thus the way to go.
The Prototype Will Look & Feel Like the Final Product
Custom PCBs allow you to visualize your final product since you can customize its many features according to your preferences.
With the flexibility to design your electronics to the exact size you need, you can also save time and money.
Easier to Outsource Design
If you plan to outsource the final product design, you should opt for a custom PCB since it has infinitely more customizability than Arduino.
You can also help your designer gain a clearer picture of what you want.
It’s important to know the key differences between PCB and a Microcontroller when finalizing your design. PCBs provide necessary electrical connections between components. Microcontrollers are integrated circuits that implement unique control functions. Both are needed in electronic components.
How To Convert an Arduino Into a Custom PCB
To convert Arduino into PCB, follow the steps below.
Design a Microcontroller Circuit
First, you’ll want to design your microcontroller circuit. Remember to use an open-sourced architecture so you can optimize your PCB layout.
Create a Schematic for Your Arduino Shield
Choose an Arduino shield and create your custom schematic. The design will be relatively simple, but you can choose add-on features later. Consider using existing circuit designs to minimize work.
Create a PCB for the Prototype
Consider your options and choose a PCB design. You’ll want to customize it according to the prototype’s features and functionalities.
Remember that the symbol on your PCB should complement the pinout on the Arduino baseboard.
Place an Order
Once you’ve finished, it’s time to place your PCB prototype order.
You’ll need to test its size and code your firmware and software. This process will be accessible to most users since it will only require you to use the same microcontroller architecture you began with.
Once you’re finished, it’s time to test your product!
Final Considerations: Arduinos vs. Custom PCBs
Ultimately, Arduinos and PCBs serve different purposes.
Consider using an Arduino if you need a rapid result and plan to tweak or convert your prototype.
Use a custom PCB for more sophistication and advanced features.